

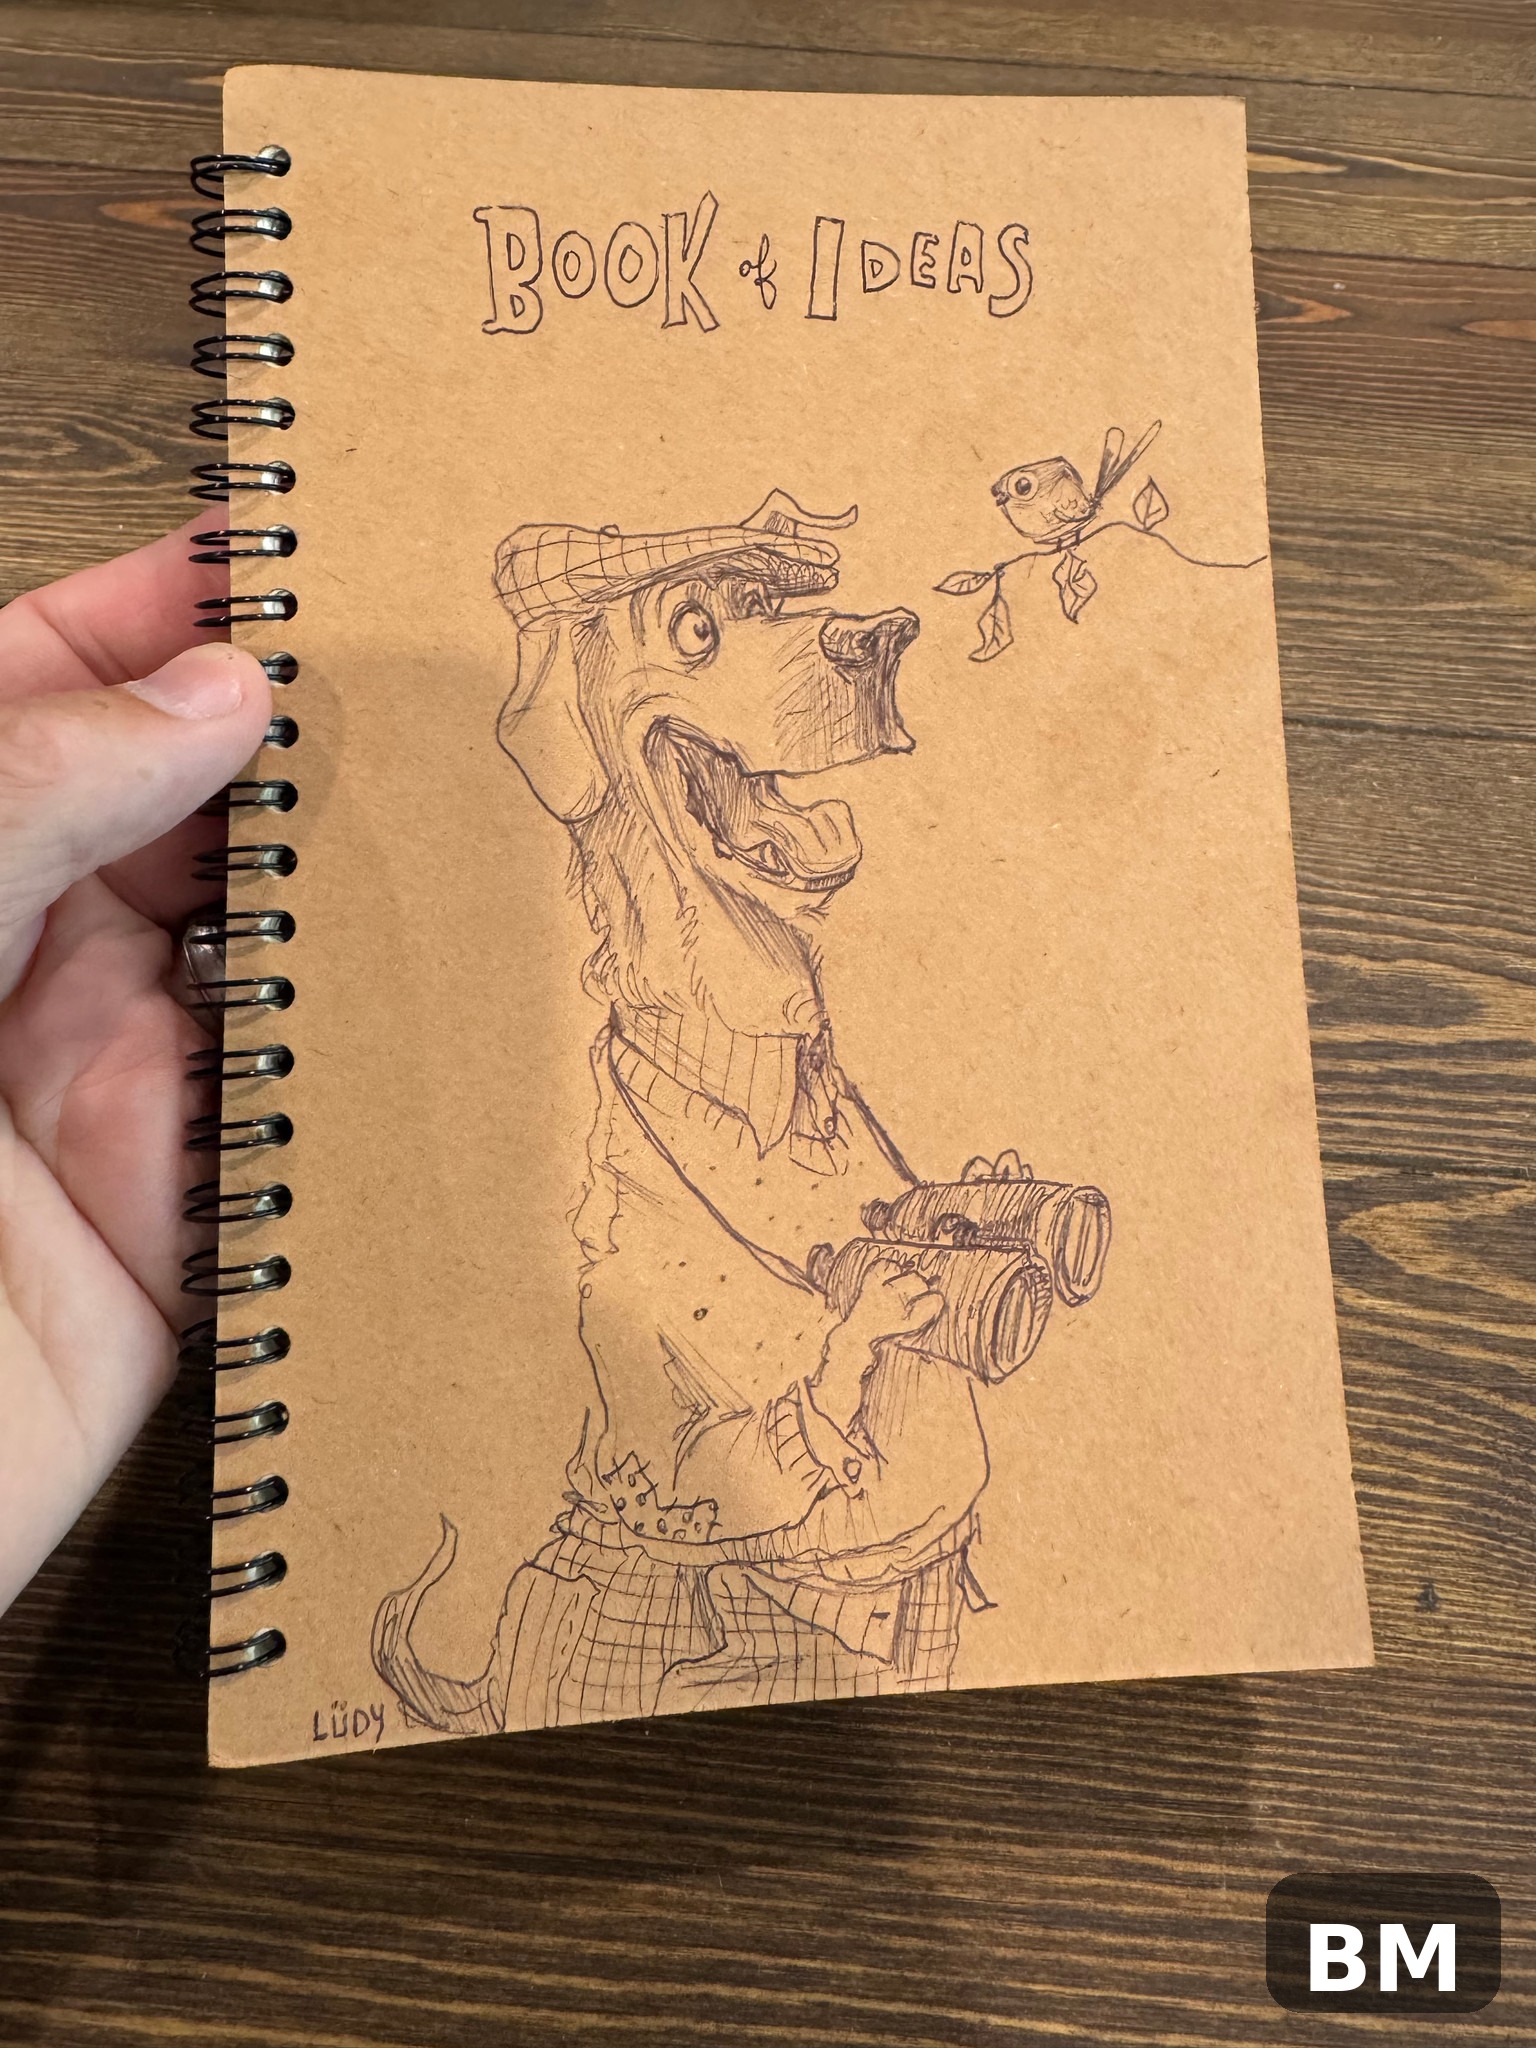
A blank sketchbook cover is one of the most intimidating sights in the world — it practically dares you to make the first mark. The good news is that decorating a cover does not require talent, training, or expensive supplies. It only requires starting.
This list was written for total beginners. Every idea below is easy, forgiving, and doable with supplies you probably already own. The first section is ordered so the absolute simplest options come first — pick one, spend ten minutes, and your sketchbook is already yours.
By the end you will have 35 concrete ways to turn that plain cover into something that makes you want to open the book and draw. Grab a pen, a sticker, or a brush, and start wherever you feel like it.
Start Here: 5-Minute No-Fail Covers
These seven ideas need almost no skill and cannot go wrong. If you have never decorated anything before, start with number one and work down.
- One perfect sticker. Stick a single sticker you love right in the center and leave everything else blank. One sticker on a plain cover looks intentional and clean, and it takes ten seconds.
- A simple doodle border. Draw a thin frame of dots, dashes, and tiny stars around the cover’s edge with any black pen. A border instantly makes the plain cover look finished, even if the middle stays empty.
- Your name in your own handwriting. Write your name big in the middle with whatever pen is nearest. It is the classic school-notebook move, it is deeply personal, and nobody’s handwriting is wrong.
- Washi tape stripes. Lay three or four strips of patterned washi tape in parallel lines across the cover. It peels off cleanly if you change your mind, so there is zero risk and zero commitment.
- One flat color coat. Paint the whole cover a single color with acrylic paint or even a large marker. One flat coat of your favorite color turns a dull cover into a bold one in minutes.
- Eraser-stamp polka dots. Dip a pencil eraser in paint and stamp dots in neat rows across the cover. The eraser gives you perfectly round dots every time, with no drawing skill needed at all.
- Sponge dab texture. Dab a kitchen sponge in paint and press it lightly all over the cover. The soft, cloudy texture hides every imperfection and looks far more artistic than it is.
Easy Drawing Ideas You Can’t Get Wrong
If you can hold a pen, you can draw these. Each one is built from basic shapes, and wonky lines only make them look more handmade and charming.
- Simple leaf sprigs. Draw a curved stem with basic leaf shapes on each side, and repeat it along the bottom of the cover. Leaves are wonderfully forgiving because no two real leaves look the same.
- A sleepy sun and moon. Draw a circle with triangle rays and a calm little face, then add a crescent moon beside it. This beginner classic takes two minutes and always looks cute.
- Triangle mountains. Draw three triangles of different sizes, add small white snow caps, and dot a yellow sun above them. It reads as a landscape instantly, and it is nearly impossible to mess up.
- A cozy coffee cup. Sketch a simple mug shape, add a handle, and curl three wavy steam lines above it. Coffee and tea doodles feel warm and personal, and the steam hides any shaky lines.
- Five-petal flowers. Draw five rounded petals around a center dot, then repeat the flower in a scattered pattern. Fill the whole cover with them in one color for an effortless floral design.
- A little house. Draw a square, a triangle roof, a rectangle door, and two square windows. The childhood classic works because its charm comes from simplicity, not accuracy.
- Wavy line waves. Fill the cover with alternating wavy horizontal lines in two colors. The rhythm of the pattern is calming to draw and looks surprisingly stylish when finished.
- A cartoon self-portrait. Draw a very simple version of your own face — circle head, dot eyes, your hairstyle. The goal is funny and recognizable, not realistic, so every attempt is a success.
Simple Paint Tricks That Look Impressive
Paint feels scary until you realize the easiest techniques do most of the work for you. These all rely on gravity, sponges, or splatters rather than brush control.
- Toothbrush galaxy. Paint the cover dark blue or purple, let it dry, then flick white paint off an old toothbrush for stars. Add a few gold flicks for constellations, and you have a galaxy that always gets compliments.
- Rainbow drips. Squeeze lines of different colored paint along the top edge of the cover and hold it upright so the paint drips downward. Gravity does all the art, and the drips look amazingly professional.
- Sponge ombre blend. Dab two colors side by side with a sponge, then blend where they meet to create a soft gradient. Ombré covers look like they took skill, but the sponge does the blending for you.
- Fingerprint flowers. Press your painted fingertips in a circle to form petals around a thumbprint center. These little flowers are adorable, personal, and each one is naturally unique.
- Sponge-dot starry night. Paint the cover dark, then tap tiny dots of yellow and white paint with the corner of a sponge. Cluster the dots tighter in one corner for a glowing constellation effect.
- Watercolor bloom wash. Wet the cover lightly with water, then drop in pastel watercolors and watch them bloom outward on their own. Watercolor paint does the hard part — you just choose the colors.
- Metallic dots on black. Paint the cover black, then stamp gold or silver dots in a scattered pattern with a cotton swab. The metallic shine against black looks like treasure and takes five minutes.
Sticker, Tape and Collage Shortcuts
Not confident with a pen or brush? These ideas let the materials do the decorating. Cut, stick, tape — that is the entire skill set.
- Full sticker bomb. Cover the entire cover with overlapping stickers of every kind you own. There are no wrong answers with a sticker bomb — the chaos is the whole point, and every layer adds personality.
- A washi tape frame. Run patterned washi tape around all four edges of the cover to make a neat border. It gives any cover a tidy, finished look in about two minutes.
- Magazine word collage. Cut out words and phrases you love from old magazines and glue them in a grid. You end up with a personal slogan wall that says exactly what matters to you.
- Memory ticket collage. Glue on old tickets, receipts, notes, and photos from your own life. A cover made from your real memories becomes a time capsule you will love opening years later.
- Fabric scrap cover. Glue a piece of patterned fabric over the whole cover and trim the edges. Pick a print you adore — florals, denim, flannel — and the texture alone makes it feel special.
- Napkin decoupage. Peel the printed top layer off a pretty paper napkin and glue it flat onto the cover with a thin layer of clear-drying glue. Delicate floral and vintage patterns, with zero drawing involved.
Make It Yours: Lettering, Names and Personal Touches
The final layer is the one that makes the sketchbook unmistakably yours. Letters, dates, and tiny symbols turn a decorated cover into a personal object.
- Your name in bubble letters. Draw your name in big block letters, outline them thickly, and color them in. Bubble letters are deeply satisfying to make and look great in any color scheme.
- One quote you love. Write a single line that matters to you in your normal handwriting, big enough to read across the room. Words make a cover meaningful in a way decoration alone cannot.
- A bold monogram. Paint or draw one big initial in a fun color right in the center. A single letter is clean, confident, and impossible to get wrong.
- A doodle alphabet. Fill the cover with letters of the alphabet, each in a different style — skinny, fat, dotted, striped. No words or sentences needed; the letters themselves are the decoration.
- Icons of your favorite things. Draw tiny symbols of what you love — a pizza slice, a cat, a book, a music note. This visual list of favorites makes the cover a little portrait of you.
- A “Vol. 1” label. Write the year and a volume number on the cover like a real journal or magazine. That small official touch makes the sketchbook feel like the start of a series you intend to finish.
- A front pocket for notes. Glue a small envelope or folded paper pocket to the cover. It is functional — a home for loose sketches and ideas — and it looks wonderfully crafty.
Practical Tips Before You Start Decorating
Prime dark or glossy covers with a coat of white gesso or white acrylic first, so your colors show up bright instead of sinking in. Always test pens and paints on the inside of the cover — some markers bleed through thin covers, and it is better to learn that on a hidden spot.
Seal your finished cover with a thin layer of clear-drying craft glue or Mod Podge so stickers stay stuck and paint survives backpack life. If you are using watercolors or anything water-soluble, use a spray fixative or skip the sealing step entirely, since wet glue will reactivate the paint.
Do not forget the spine — writing the year or a small doodle on the spine makes your sketchbook easy to spot on a shelf. And if anything goes wrong, remember the golden rule of cover decorating: a sticker covers every mistake. You will find more easy creative projects like this on Bilium Magazine.
What is the easiest way to decorate a sketchbook cover?
Stick one sticker you love in the center, or lay down a few strips of washi tape. Both take under five minutes, need no skill, and instantly make a plain cover look finished.
Can I paint directly on a sketchbook cover?
Yes — acrylic paint works on almost every cover, hardback or paperback. If the cover is dark or glossy, brush on a coat of white gesso first so your colors stay bright, and let everything dry fully before closing the book.
What should I do if I mess up my cover design?
Paint over it with a solid color and start again, or simply stick a sticker or a piece of washi tape over the mistake. Cover decorating is one of the few crafts where errors are genuinely easy to hide.
Do I need expensive art supplies?
Not at all. A black pen, a few stickers, some washi tape, and one tube of acrylic paint cover nearly every idea on this list. Most beginners already own everything they need.
How do I protect a decorated sketchbook cover?
Brush on a thin layer of clear-drying craft glue or Mod Podge once the design is fully dry. It locks stickers down and shields paint from scratches and spills.
Bottom Line
The cover of a sketchbook is really a promise you make to yourself — that the pages inside are worth opening. It does not need to be perfect to keep that promise. It only needs to be yours: your colors, your words, your slightly wonky sun with a sleepy face.
Start with the simplest idea that appeals to you, and let the cover grow with your confidence. Months from now, when the pages are full, that first decorated cover will look like the beginning of something — because it was.
